Anna Bondoc holiday place cards, step by step
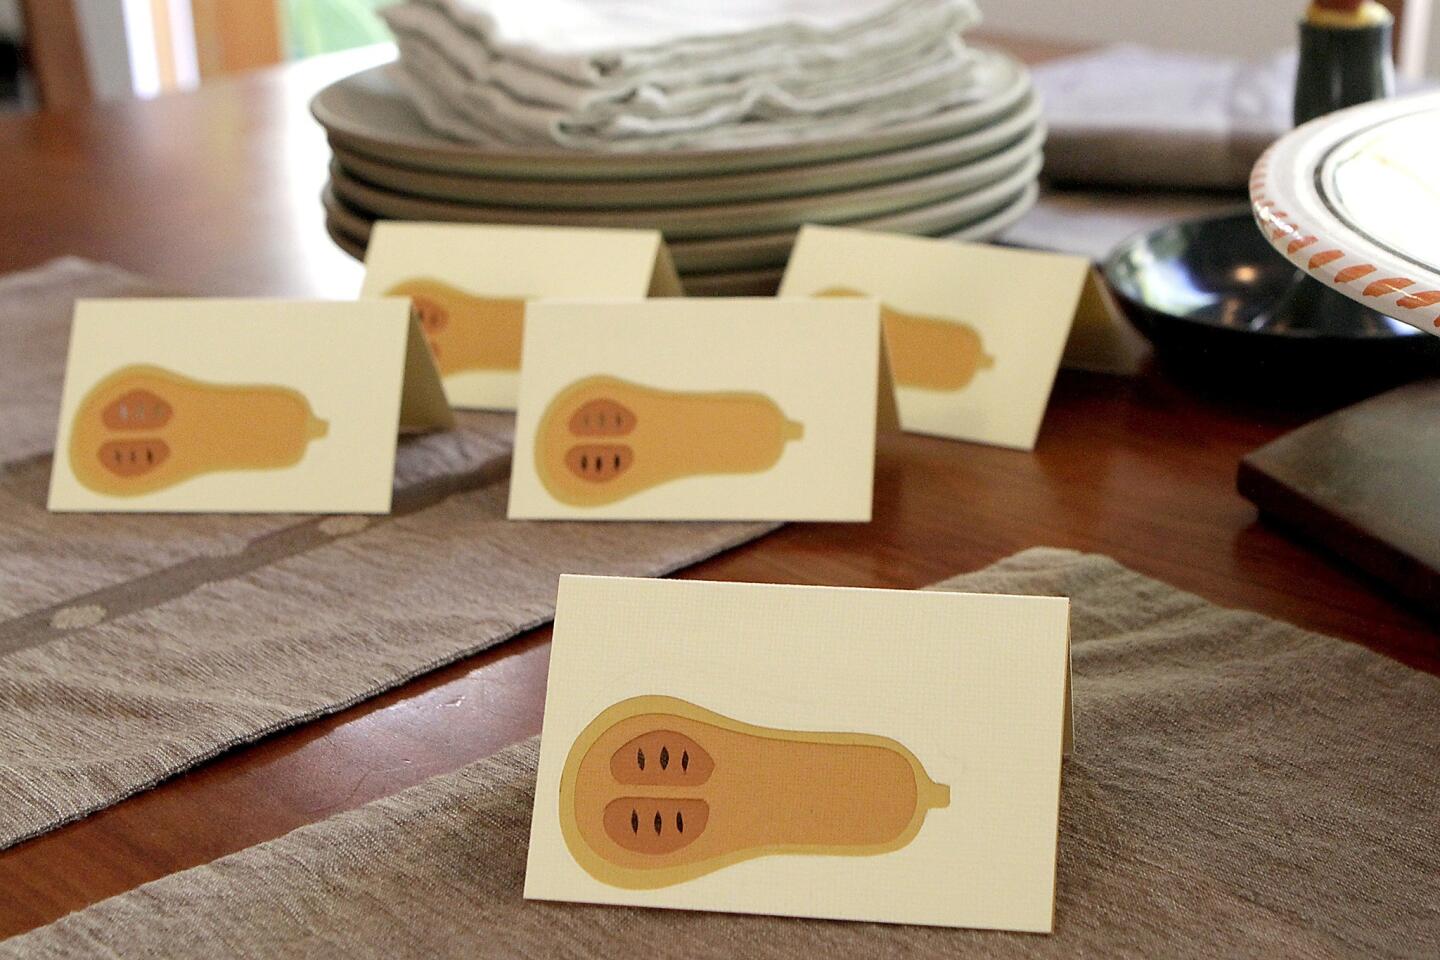
Los Angeles paper artist Anna Bondoc agreed to walk readers through the steps of making these squash place cards, one of the projects featured in her new book, “Simply Paper Cutting: Hand-Cut Paper Projects for Home Decor, Stationery & Gifts.” We’ve even provided templates to make the job easier ... (Kirk McKoy / Los Angeles Times)
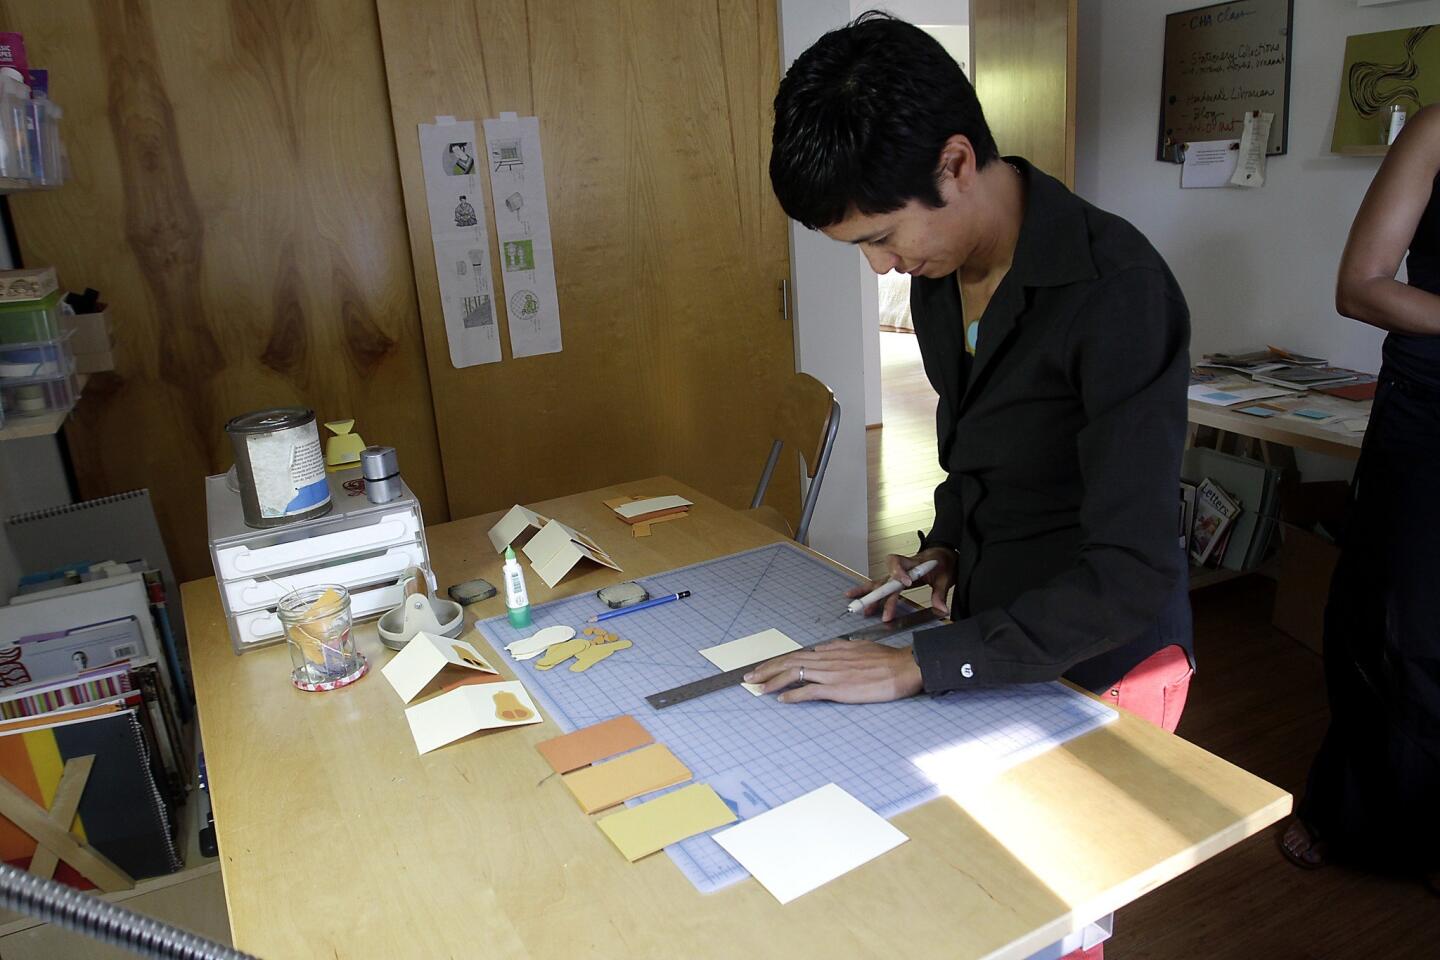
Los Angeles paper artist Anna Bondoc gets to work in her home studio. The general approach to this project is to cut the shape of the squash in the card front, glue a darker card stock to cover the hole, then repeat the process until you have layers of color creating a three-dimensional effect.
Step 1: Using the cutting mat to ensure accuracy, measure and trim a 4-by-5-inch rectangle of Candlelight (butter yellow) card stock. Cut one for every place card you want to make. (Kirk McKoy / Los Angeles Times)
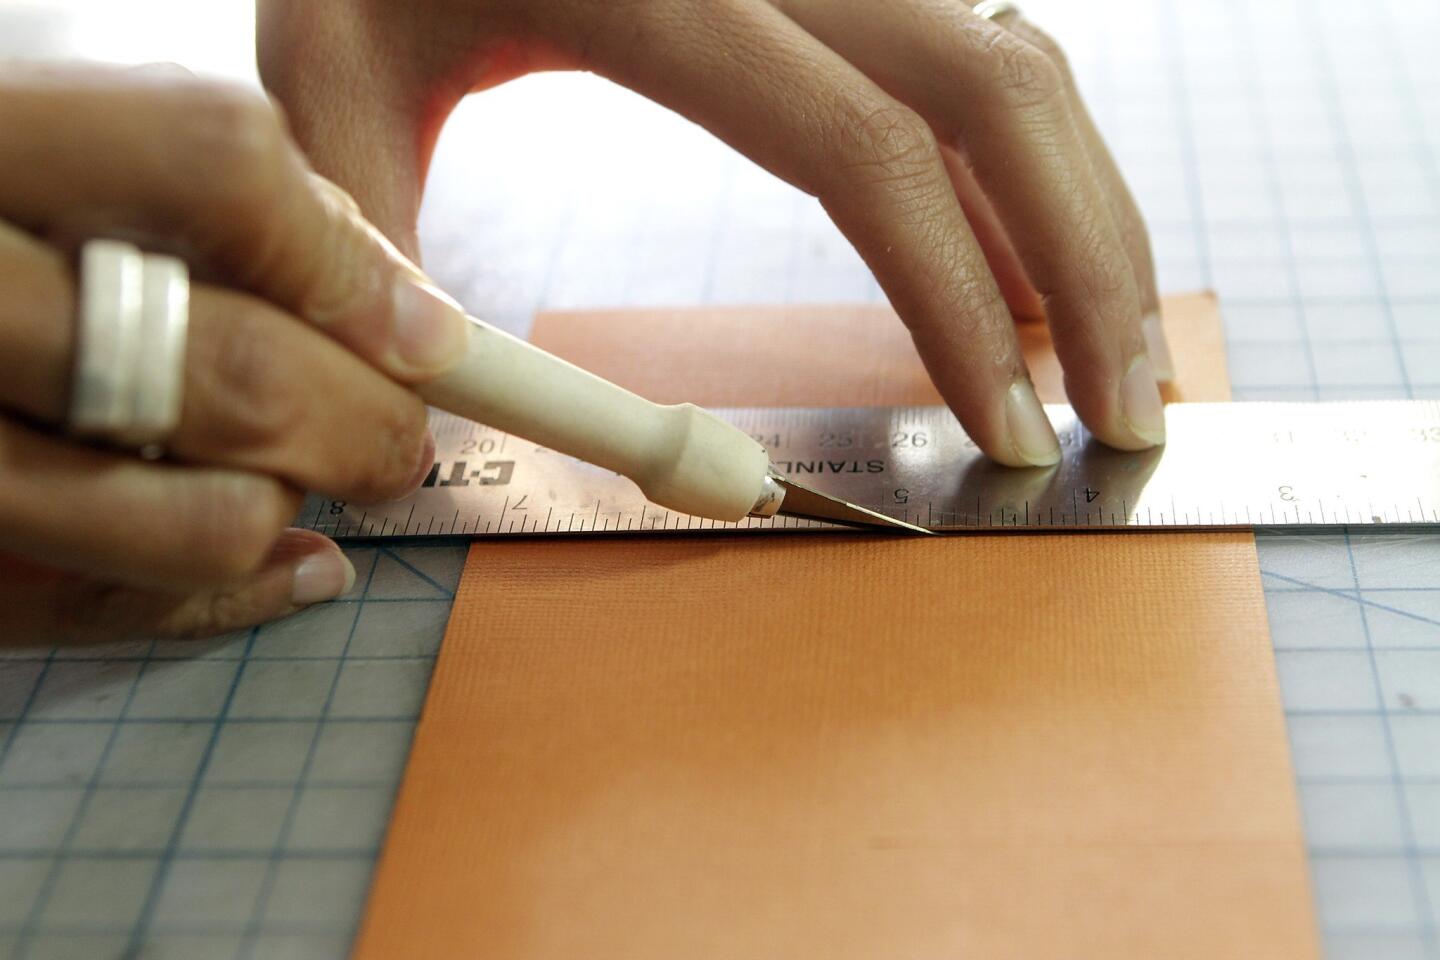
Cut the other colored sheets into 2.5-by-4-inch cards. The textured side of the paper should face up for all of the layers. (Kirk McKoy / Los Angeles Times)
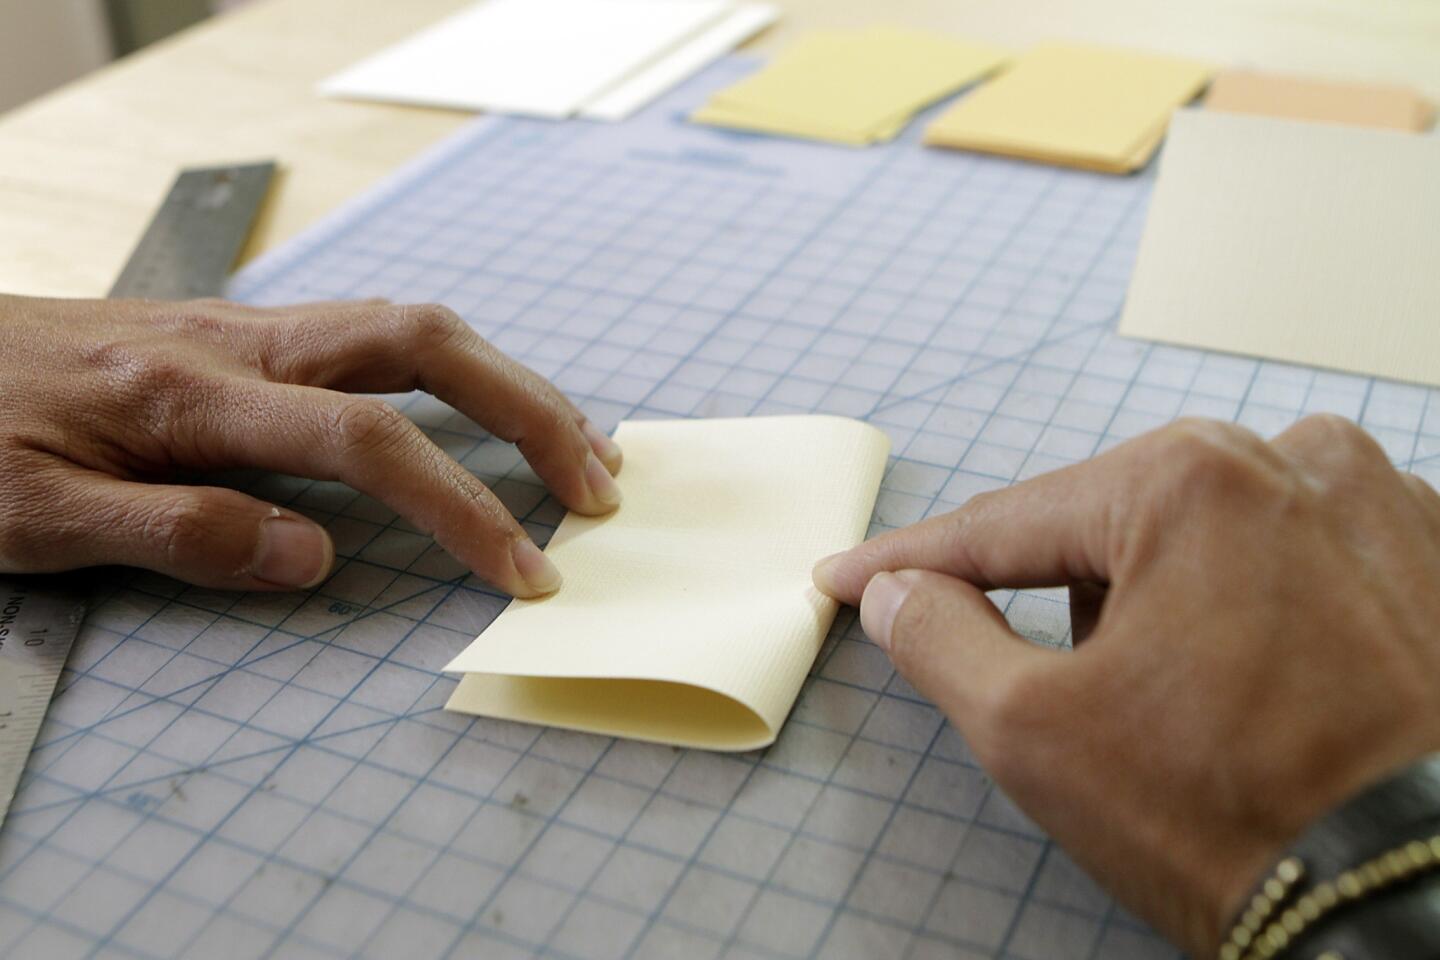
Go back to the Candlelight (lightest) card stock. Along the 5-inch side, measure and mark the card’s midway point. Score gently using the back edge of the blade and press down to make a light impression; this forms the table tent. Crease the fold with your finger. (Kirk McKoy / Los Angeles Times)
Advertisement
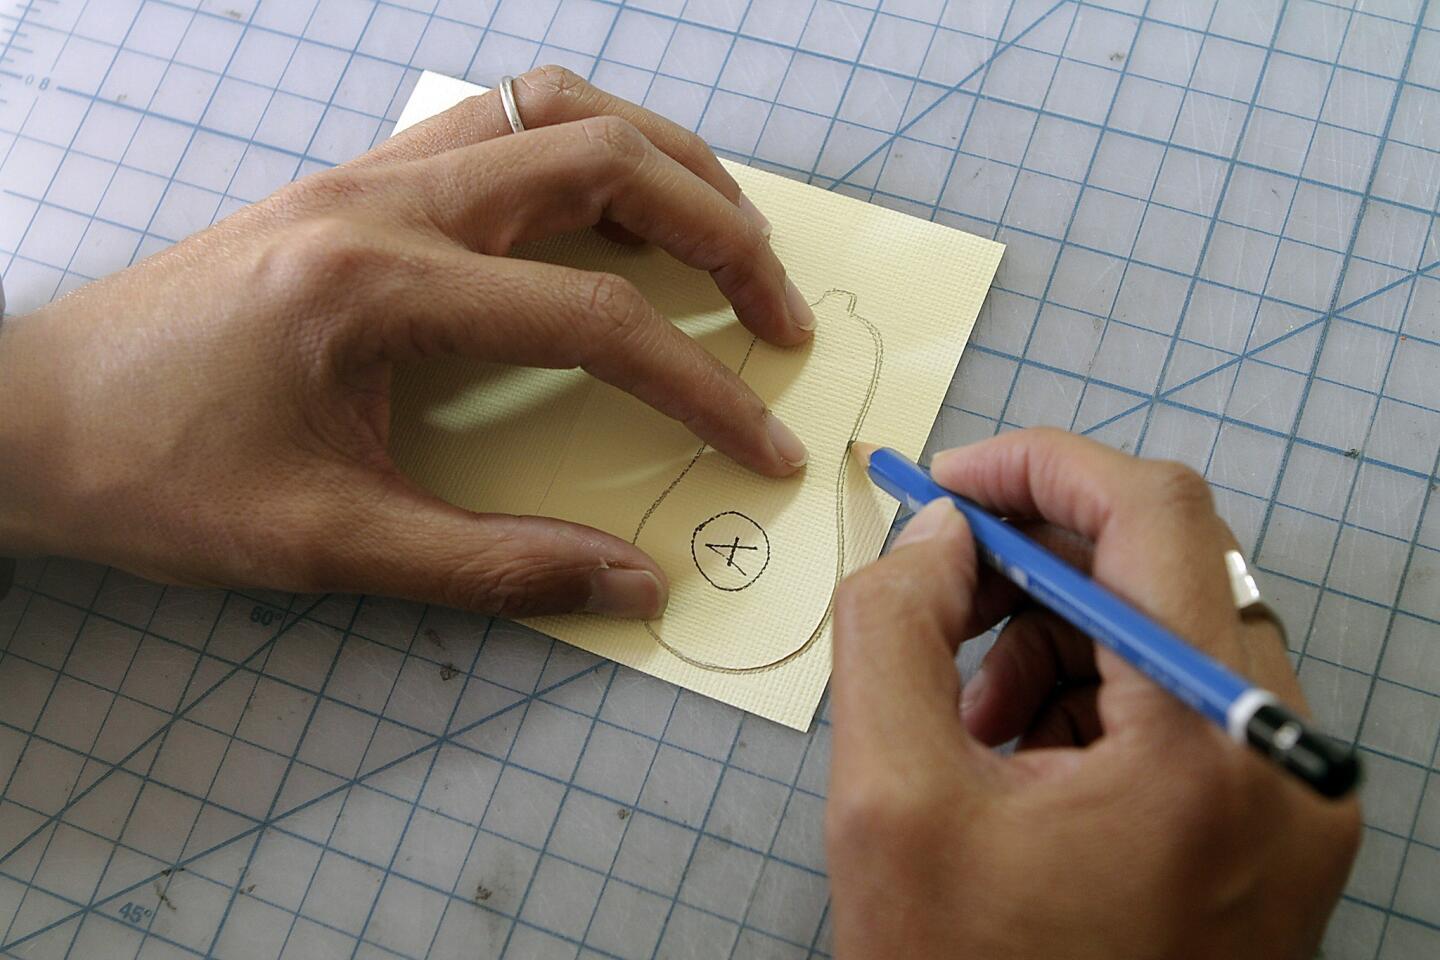
Using the pencil, trace Stencil A (the largest squash silhouette) on the Candlelight card. (Kirk McKoy / Los Angeles Times)
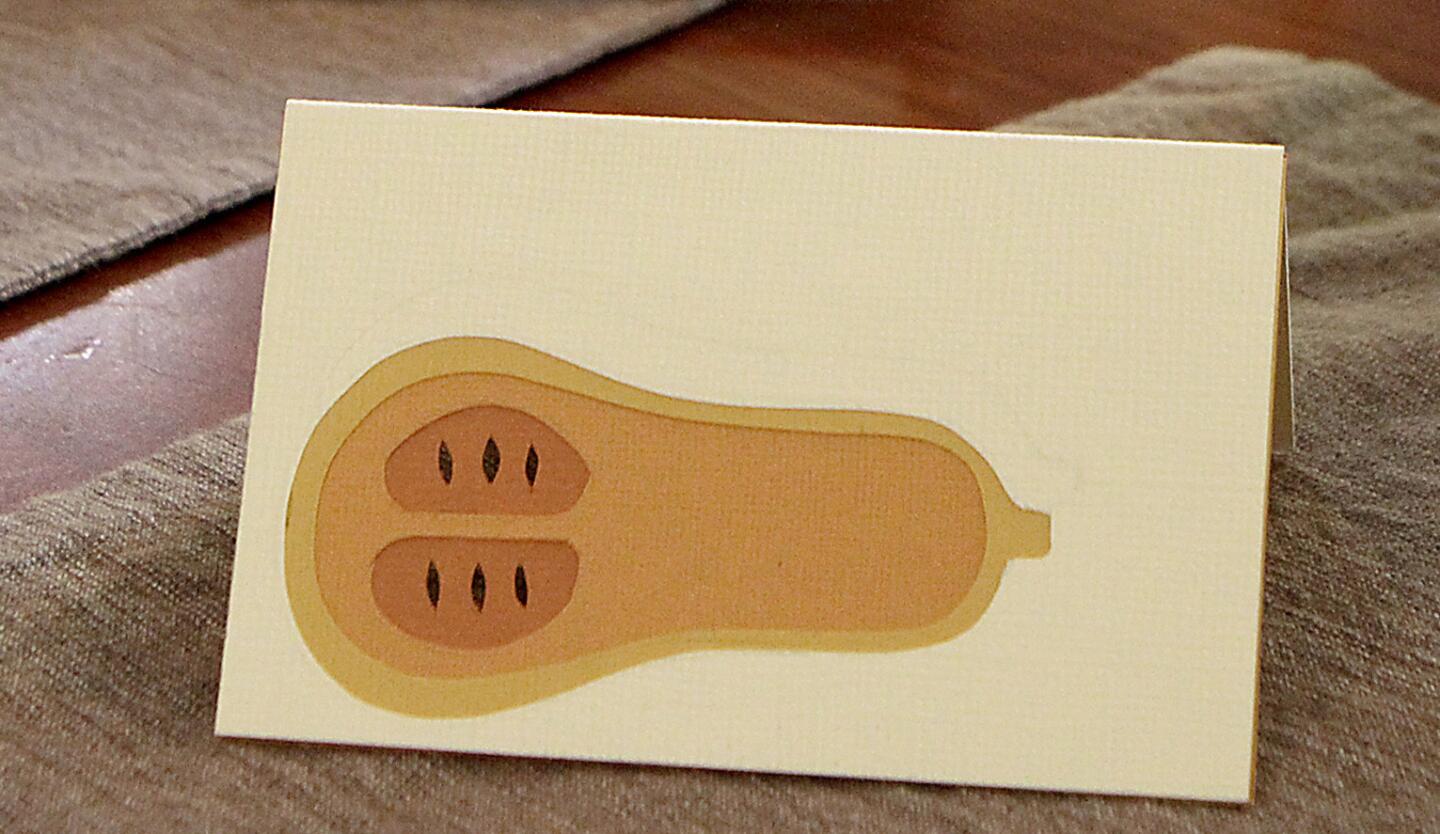
The finished card: Cute and colorful, a touch of the handmade.
Anna Bondoc was kind enough to provide a bonus design for L.A. at Home readers: a pdf snowflake cake stencil, which with a little powdered sugar can give holiday cakes a sweet, wintry design. (Kirk McKoy / Los Angeles Times)


